Comparing the Effects of Advanced Rendering
Advanced rendering brings a number of improvements to the scene.
- Click the Simulation tab to return to the simulation tree.
-
To make a copy of the scene, left-click and drag the node onto the Scenes node.
A copy of the scene node is created. The parts, materials, and properties of the original scene are transferred to the copy.
- Rename the new node to Advanced Rendering Off.
- Select the node and deactivate the Enable Advanced Rendering option.
-
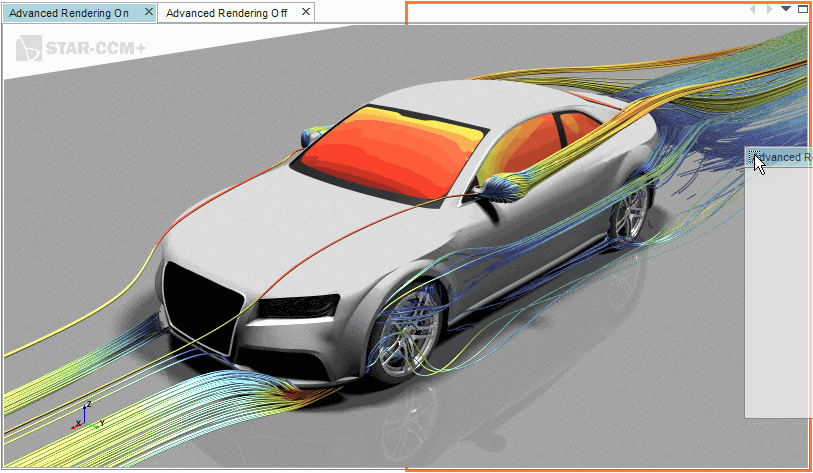
Left-click and drag the Advanced Rendering On tab to the
right of your screen until a red box appears to split the workspace into two
areas, then release the mouse button.

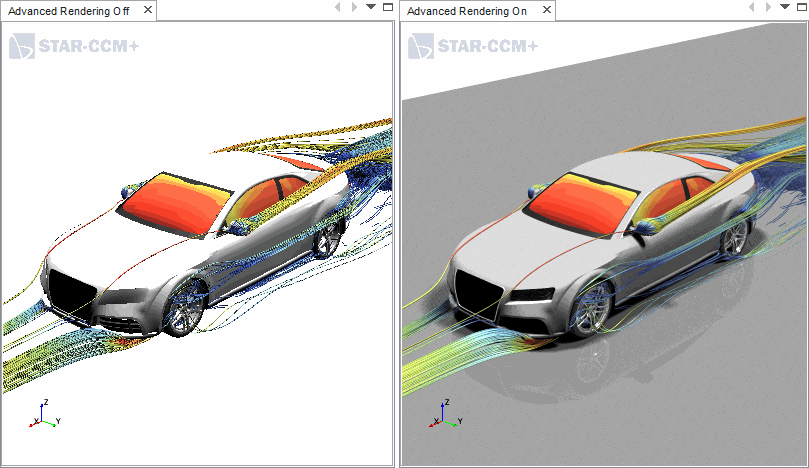
The two scenes are now placed side-by-side for easy comparison. -
Multi-select the Advanced Rendering On and
Advanced Rendering Off scenes, then right-click on a
selection and choose Linked View.
The position of the geometry in both views are now linked. Movement in one scene is matched in the other scene.

The scene with advanced rendering is of a much higher quality, in terms of light, shadow, and edge rendering. The improved quality of edges is most apparent in the streamlines, with no jagged edges being visible (known as aliasing in computer graphics).
- Save the simulation.