Visualizing the Velocity Vectors
This section describes how to examine velocity vectors.
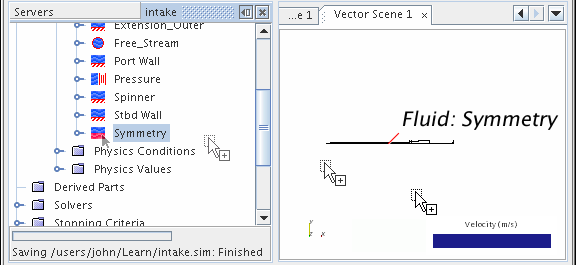
- Right-click the node. Selecting causes a Vector Scene 1 display to appear.
-
Open the
node, and then drag the
node into the display.
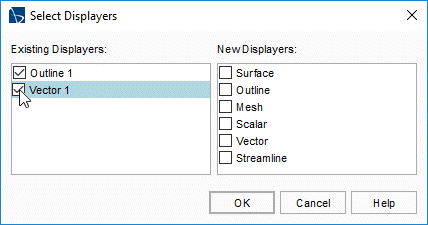
When your mouse pointer arrives on the display, the Select Displayers dialog lets you decide the part displayer to receive the new part.
-
Activate the existing displayer and click OK.
At this point, the part is in the scene, though it is difficult to see from the default view.
-
For a clearer view of the model, click
 (Save-Restore-Select Views) on the toolbar to activate the
menu.
(Save-Restore-Select Views) on the toolbar to activate the
menu.
-
In that menu, select
. You can also zoom and pan the view as needed.
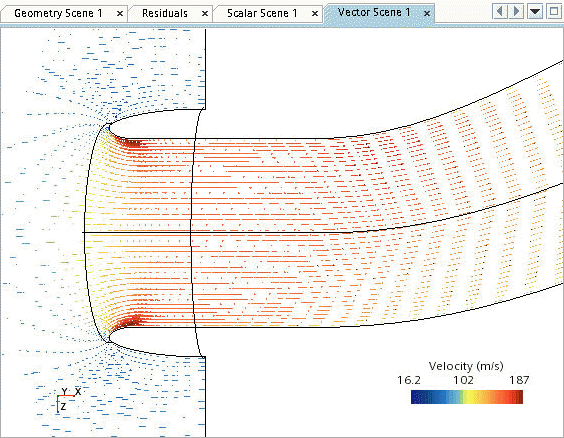
The result appears in the Vector Scene 1 display.
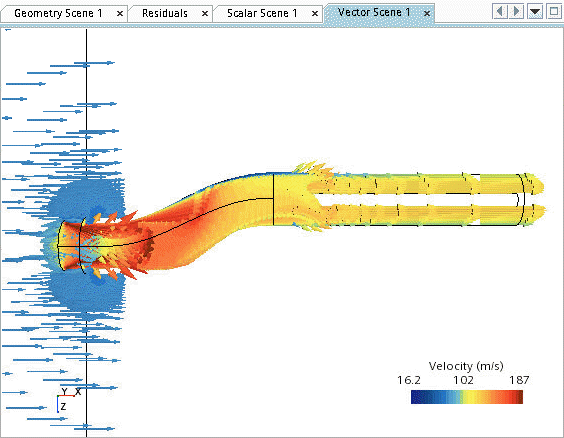
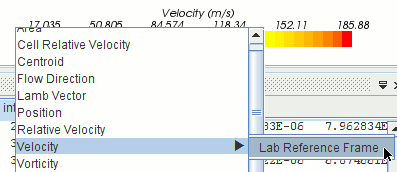
Velocity is the default selection for vector displays. However, if you do not see any vectors after adding a part to the scene, right-click the vector bar in the display. In the pop-up menu that appears, select .
The vector arrows in this scene are too long. To make them shorter:
-
Select the node and set the Glyph Length (%) to
0.2.
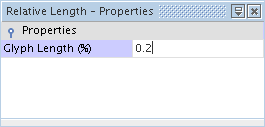
The arrows now appear shorter.
- Save the simulation.