Parameterizing the Flowpath
Simcenter STAR-CCM+ provides a parameterization object in which you can define the coordinate system and surfaces by which the domain is normalized.
To create the cylindrical coordinate system:
- Activate Geometry Scene 1.
- Right-click the node and select .
-
In the Edit dialog, enter the following properties:
Axis Definition Value Origin [0.0,0.0,0.0] Radial Direction [-1.0,0.0,0.0] Tangential Direction [0.0,-1.0,0.0] - Click Renormalize, then Create and Close.
To create the parameterization:
-
Right-click the node and select .
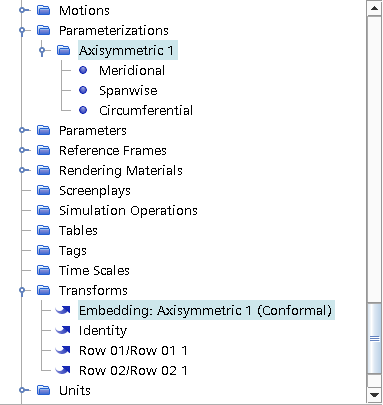
A new node appears under the Parameterizations node called Axisymmetric 1 along with a new transform under the Transform node called Embedding: Axisymmetric 1 (Conformal). This transform allows you to create 2D projections from 3D isosurfaces along the turbines.
-
Select the Axisymmetric 1 node and set the following
properties:
Node Property Settings Axisymmetric 1 Cylindrical coordinate system Geometry and Row 02 Meridional Min Max Interfaces and Spanwise Min and Max and Circumferential Min and Max and
To visualize the parameterization:
- Right-click the Scenes node, and select .
- Rename Scalar Scene 1 to Scalar: Parameterization
- Select the node and set Parts to and Row 02.
- Select the node and set Function to .
-
In the Vis toolbar, click
 (Save-Restore-Select Views) and select .
The resulting scene is displayed as follows:
(Save-Restore-Select Views) and select .
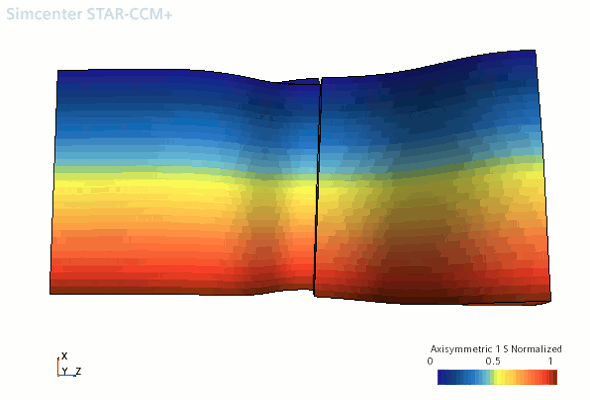
The resulting scene is displayed as follows: The scene shows the normalized parameterization in the meridional direction (the arclength from stage inlet to stage outlet). As you can see, the Axisymmetric M Normalized value reflects the row number of each blade, hence the normalized distance at the outlet of Row 01 is 1, and at the outlet to Row 02 is 2.
 - Now, set Function to .
-
In the Vis toolbar, click (Save-Restore-Select Views) and select .
The resulting scene is displayed as follows:
 The scene shows the normalization distance in the spanwise direction (the distance between hub and shroud). As you can see, the parameterization results in a distance of zero at the hub and one at the shroud.