Preparing the Initial Surface
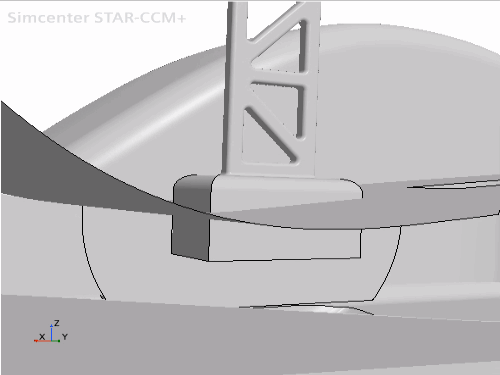
In this stage of the tutorial, you remove the original wing from the car and import a new wing that is in a different position. These steps create several problems on the geometry surface, which you fix at later stages of the tutorial.
To delete the original wing:
- Expand the node.
-
Delete the
Strut and
Wing part surfaces.
Deleting the original wing leaves a hole in the surface mesh.

You fix this hole using the fill holes operation in a later stage of this tutorial.
To import the new wing:
- From the menu bar, select .
- In the Open dialog, select pbm_wing1.x_b from the [INSTALL_DIR]/doc/startutorialsdata/mesh/data directory and click Open.
-
In the Import Surface Options dialog, set the
following properties:
Property Setting Tessellation Density Very Fine Open Geometry Scene After Import Deactivated
To add the imported wing to the
Graphics window:
- Drag and drop the node onto Geometry Scene 1.
- In the Select Displayers dialog, select and click OK.
- Drag a drop the node to Geometry Scene 1.
- In the Select Displayers dialog, select and click OK.
- Save the simulation.
