Removing Small Studs
To help you choose between similar geometric features, design filters allow you to combine multiple predicates in the search. Here, you use multiple predicates in order to identify and remove small studs on the box cover.
-
Before creating the new design filter, do the following:
- In the 3D-CAD View scene, right-click and select .
-
In the toolbar at the top of the 3D-CAD View scene, change
Color Mode to
 (Gray
Color).
(Gray
Color).
Create a new design filter.
-
In the Filter panel, select the following options in
the Input box:
-
Set Selection Mode to
 (Selected
Entities).
(Selected
Entities).
-
Set Object Type to
 (Bodies).
-
Beneath the Object Type buttons,
click
 (Open Selector for Input).
-
In the Input dialog, select , then click (Close Selector for
Input).
-
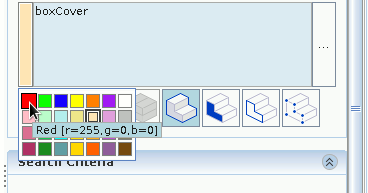
Using the color selector, change the object color to
Red.
-
Set Input Type to (Bodies).
-
Set Selection Mode to
-
In the Search Criteria group box, create two
predicates:
-
For the first predicate, choose Shape + Face + is +
Cylindrical and click
 (Commit Changes).
-
Hover to the right of the first predicate and click
 (Add a
new item (Insert)).
(Add a
new item (Insert)).
-
Choose Area + Face + below + 0.0001.
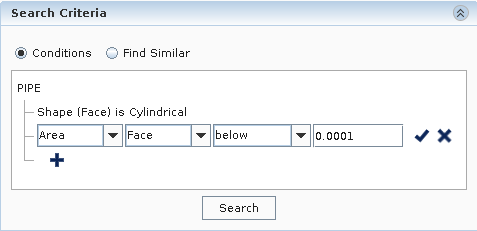
-
Click (Commit
Changes).
The faces that match the queries and inputs are selected. In total 1680 faces are found by the search tool. You can assign different colors to view the results.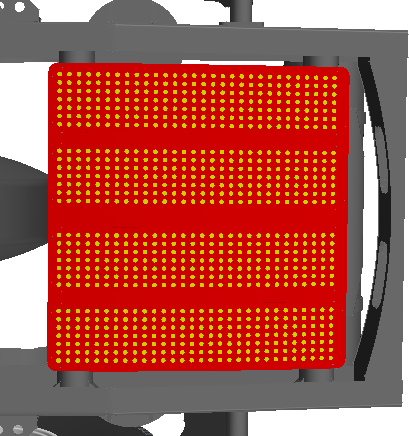
-
For the first predicate, choose Shape + Face + is +
Cylindrical and click
- In the Results group box, make sure that Create is set to Filter, then click OK.
- In the 3D-CAD panel, rename the design filter node to Stud Removal.
-
To remove the studs on the box cover part:
-
While pressing <CTRL>, in the graphics window,
right-click one of the selected faces and select . In the Defeature panel, click
OK.
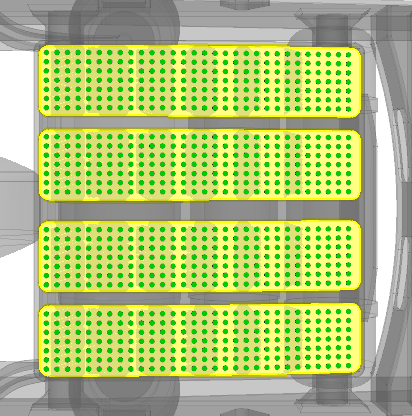
Defeaturing removes all the studs and results in a smooth box cover.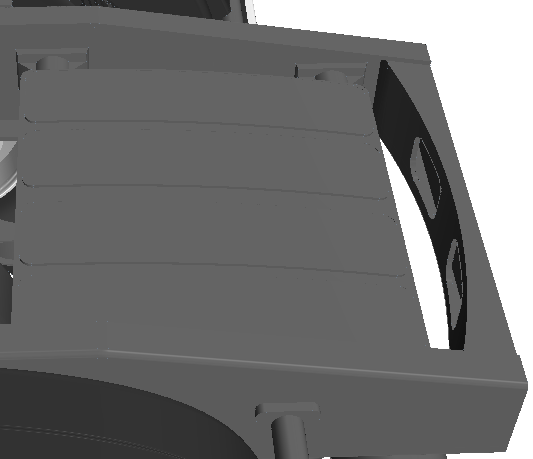
-
While pressing <CTRL>, in the graphics window,
right-click one of the selected faces and select . In the Defeature panel, click
OK.