Nose and Camera Freeform
Once you have separated the nose from the remainder of the fuselage, you separate it from the camera collar. To do this, create sheet bodies for the nose surfaces.
-
To convert the solid faces into sheet bodies:
-
In the Visualization toolbar, click
 (Save-Restore-Select
Views) and select .
(Save-Restore-Select
Views) and select .
-
In the 3D-CAD View 1 scene, select
the two faces around the camera bay as shown below:

-
In the Visualization toolbar, click
- Right-click the node, and select Hide.
- Reselect the previously selected faces.
- Right-click one of the selected faces and select Delete Faces.
- In the Delete Faces dialog, click OK.
- In the 3D-CAD View scene, right-click anywhere in the scene and select .
- Reselect the Main Body 2 faces.
- Right-click one of the selected faces and select Freeform Surface.
-
In the Freeform Surface dialog, click
 (Display Interior Edge
Constraints).
(Display Interior Edge
Constraints).
-
Select the two constraints on the camera bay edge, as shown below, and set
Edge Constraint to Rigid.
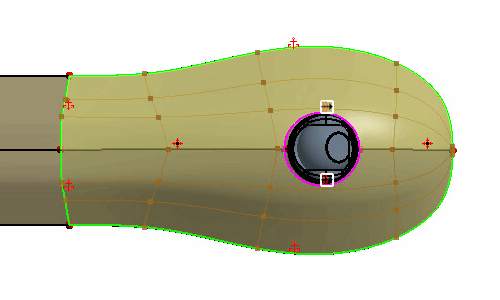
The rigid constraints maintain the shape of the edge when you deform the body. When you perform the deformation, do not make changes to the camera bay geometry as the collar and the camera bay fit within the nose.
-
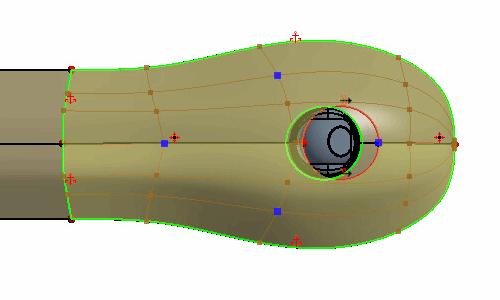
Click
 (Create Point) and place four points on the surfaces
as shown below:
(Create Point) and place four points on the surfaces
as shown below:

-
To define the nose freeform displacements:
-
Click Apply.
-
Click Apply.
-
To translate the camera module:
-
Reselect FreeformPoint 3 and select
 (Design
Parameter).
(Design
Parameter).
-
Reselect FreeformPoint 3 and select
-
To form a solid body from the sheet bodies:
-
In the Sew Sheet Bodies dialog, set
Sewing Tolerance to
1.0E-4 and click
OK.
The sew body operation allows you to create one closed solid body for all the sheet bodies previously created.
-
In the Sew Sheet Bodies dialog, set
Sewing Tolerance to
1.0E-4 and click
OK.
-
Group the six most recent features, as shown below:
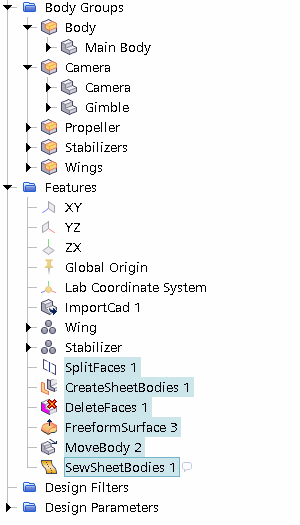
- Rename Features Group to Nose and Camera.
- Save the simulation.