Visualizing the Solution
Simcenter STAR-CCM+ allows you to create scenes before running the solvers. As these scenes are updated as the simulation progresses, you can obtain early indications of the result towards which the solution is converging. Here, you set up a scalar scene for visualizing the Mach number.
To define the scalar scene:
- Right-click the Scenes node and select .

Scalar Scene 1 opens simultaneously in the graphics window.
Hide all parts except the blunt body itself and the vertical symmetry plane.
- At the top of the simulation explorer panel, click Scene/Plot.
- Select the node.

- In the Properties window, click
 (Custom Editor) in the right half of the Parts property.
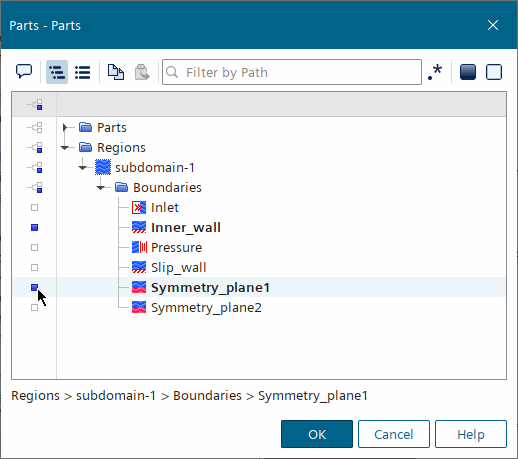
 - In the Parts dialog, expand , select Inner_wall and Symmetry_plane1, and click OK.
- To define Mach number as the scalar shown:
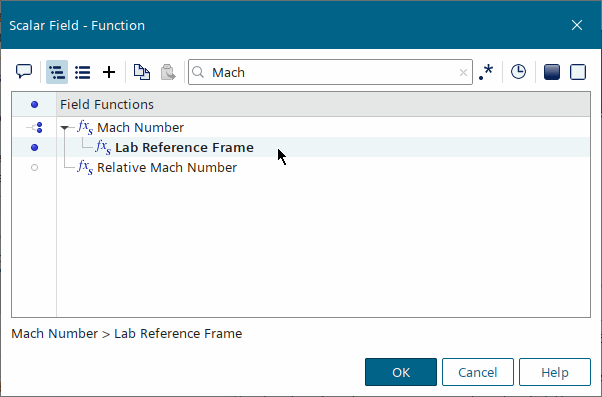
- Select and click OK.
- Select and click OK.
- To change the colormap, within the Scalar 1 node, select Color Bar and set Color Map to purple-red basic (large difference).

Since the blunt body is symmetric about horizontal and vertical planes running through its center, only a quarter of the blunt body is simulated. In this case, when you instruct Simcenter STAR-CCM+ to account for idealization, the scene renderer detects the horizontal symmetry plane included in the input parts and reflects the geometry around it.
- To apply an idealization, select the Scalar 1 node and activate Account for Idealization.

- To remove the outline edges, select the node and deactivate Outline.

The scalar scene appears as below.

- At the top of the simulation explorer panel, click Simulation.
- Save the simulation.