Starting a Simcenter STAR-CCM+ Simulation
Simcenter STAR-CCM+ is a client-server application. That is, the interactive user interface is a client process that connects to a server process running on the same machine or on a remote machine. The server process hosts the simulation. Changes that you make through the user interface are transmitted immediately to the simulation held by the server process.
-
Launch Simcenter STAR-CCM+ using the appropriate
instructions for your operating system.
After a brief display of the splash screen, the Simcenter STAR-CCM+ client user interface opens. This interface to the Simcenter STAR-CCM+ software is a self-contained graphical user interface (GUI) with panes and subwindows. Some of the GUI terminology is shown in the following screenshot.

-
To start a server process for the simulation:
A new window containing a simulation object tree appears in the Explorer pane, with the name Star 1.
The tree represents all the objects in the simulation. Nodes are added as you progress through the stages involved in setting up a simulation. Many steps require you to select nodes in the tree and do one of the following actions:
- Set properties for the node in the Properties window.
- Right-click to expose an action menu and choose an option.
- Drag objects to other tree nodes or onto an open scene in the graphics window.
To modify the properties of an object, click its node once to select it. In the Properties window you can either set property values directly or click the Property Customizer button to the right of the value and use the property-specific dialog that appears.

The triangle next to a node indicates that child nodes exist below the node—you can click the triangle to expand and collapse the child nodes.
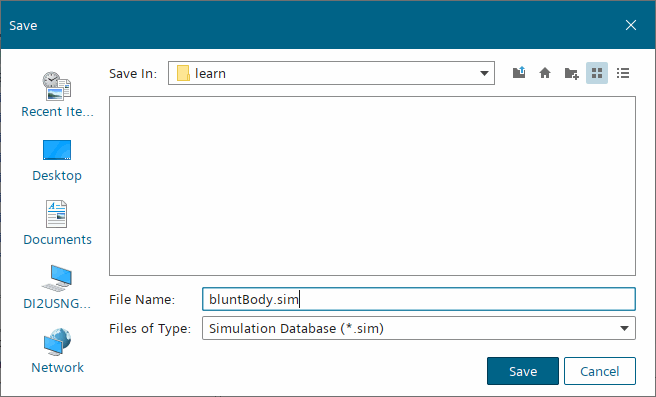
Before proceeding, save the simulation:
-
To save the simulation:
The title of the simulation window in the Explorer pane updates to reflect the new name.
