Using the Properties Window
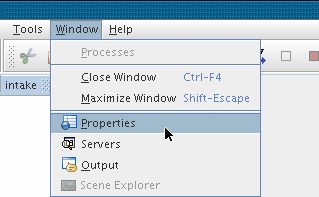
The Properties window is a single location where all of the properties for a selected object can be viewed and manipulated.

It is designed for easy navigation with the mouse or the keyboard, and includes a description area at the bottom of the window.

The dialog that appears under the edit tab of the Explorer pane, typically used for derived parts and surface repair, causes the Properties window to disappear from the workspace. It reappears when the edit tab is closed.
A set of editing techniques is common to virtually all Simcenter STAR-CCM+ objects.
A special kind of property, usually labeled Parts, activates the object selection dialog. See Activating the Object Selection Dialog.
Common Editing Techniques
Put the property into edit mode using one of the following techniques:
- Clicking the property value (in the right-hand column)
- Using the keyboard to navigate to the property and press the <Space> bar
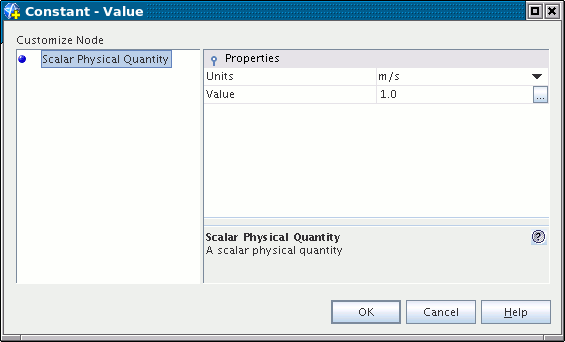
- Clicking the ellipsis button in the right-hand column (if one is there) to activate the property customizer
Change the value by typing, making a selection from a drop-down list or making the changes within the property customizer (if one is activated).
Accept the new value by pressing <Enter> in the inline editor or clicking OK on the Customizer dialog. The property is then put into view mode and retains the focus. If the value that you entered was invalid for some reason, a warning box is displayed and the value reverts to its previous value.
Cancel your editing by pressing <Esc> or clicking Cancel on the Customizer dialog.
Using a Property Customizer
Use the property customizer for greater control over a property’s value, typically with control over units. The most common method for activating this dialog is clicking the
 (property customizer) in an object’s value property.


Alternatively, if you click the
 (property customizer) in that field, it activates a larger text box (helpful for longer entries).
Using a Slider
For any property with a finite range of values, a slider is available for adjustments. To use this feature:
- Click the property value. This action makes the slider available.
- Drag the slider button along the range until you reach the value you want.

If the relevant property is displayed in the current scene, the scene automatically updates to the new value.
When the property specifies a range, the slider provides two buttons. While you can slide either button past the other, the button at left always specifies the minimum, while the one at right always specifies the maximum.
- To close the tool, click anywhere else in the
Simcenter STAR-CCM+ window.
The new value is automatically applied.
Alternatively, you can enter a value by typing it.
Showing and Hiding the Description Area
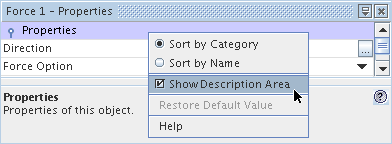
At the bottom of the Properties window is a description area that summarizes the currently selected object or property by displaying the name of that object or property along with a brief description.

To hide the description area:
- Right-click anywhere within the Properties window, except on the title bar or within a property value that is in edit mode.
- In the pop-up menu that appears, select so that the checkbox of that menu item is cleared.
