Importing the CGNS Files
Specify the CGNS import modes, including the import frequency and timescale treatment. Additionally, specify the CGNS files containing the fluid data and create the regions that represent the external fluid.
In this simulation, you set the time interval between import events to the simulation time-step. At each time-step, Simcenter STAR-CCM+ imports the CGNS data, updates the corresponding loads on the solid, and solves for the solid stress.
To match the timescale in Simcenter STAR-CCM+ with the timescale in the CGNS files, you instruct Simcenter STAR-CCM+ to apply time interpolation. Additionally, you set the mapping option so Simcenter STAR-CCM+ automatically maps the loads from the fluid mesh defined in the CGNS files to the mesh in the solid stress simulation.
-
Expand the node and set the following properties:
Node Property Setting Transfer Direction Option Import Interval Trigger Trigger Time Step Timescale Control Timescale Control Time Interpolated Time Range Option Enable Between Start and Stop Times Mapping Option Option Map After Import -
Expand the node and set the the following properties:
Node Property Setting Start Time Start Time 0.0 s (default) Stop Time Stop Time 1.0 s (default) CGNS Start Time CGNS Start Time 11.0 s CGNS Stop Time CGNS Stop Time 12.0 s The CGNS files contain fluid pressure data collected over several seconds of physical time. However, in this tutorial, you only import the pressure data corresponding to one second.
Setting the Time Range allows you to select the specific range within the CGNS solution timescale that you want to import into Simcenter STAR-CCM+. Here, you import data collected between the 11th and 12th second of the CGNS timescale. As the timescale is matched to the timescale in Simcenter STAR-CCM+, the simulation runs for one second of physical time (from 11 to 12 s).
-
Specify the CGNS files containing the fluid pressure loads:
- Select the node.
-
Select the Directory property and click
 (Custom
Editor).
(Custom
Editor).
- In the Save dialog, navigate to your working directory and select the CGNS_fluidLoads folder.
- Select Save.
- Set Base Filename to FluidPressure.
Simcenter STAR-CCM+ imports all files with the prefix FluidPressure from the CGNS_fluidLoads directory. -
Right-click the node and select Scan.
The Output window reads; Scanned 424 files onwards from [Directory].
-
Once all the fluid pressure files have been scanned, right-click the
Link 1 node and select Create External
Parts.
Performing this action populates the Regions node with external regions defined by the CGNS files.
- Right-click Link 1 and select Import Meshes.
-
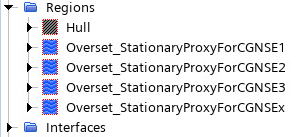
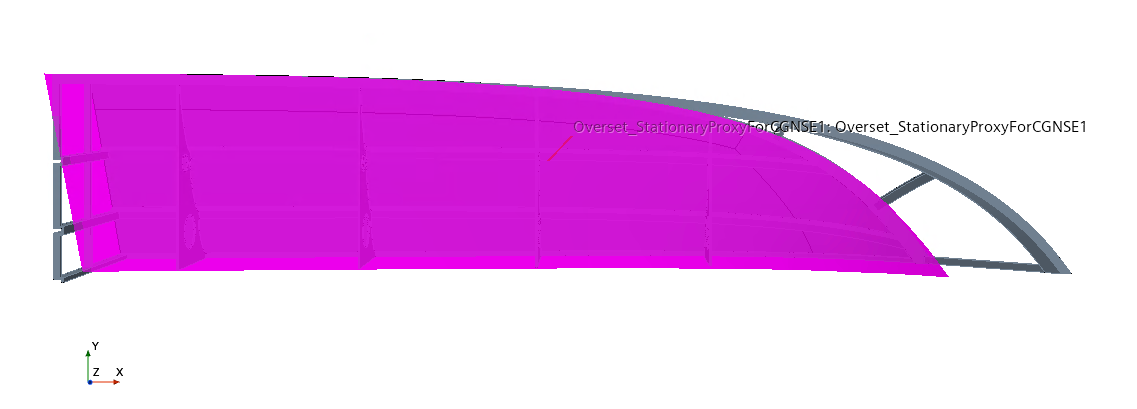
To view an external fluid region after importing the mesh, expand the
Regions node and select an external fluid
region.
Simcenter STAR-CCM+ highlights the selected region in the Mesh scene window. Only one of the external regions corresponds to the solid hull region: Overset_StationaryProxyForCGNSE1.
The imported fluid loads are defined on the external fluid mesh. To apply the fluid loads to the solid region, you map the loads from the fluid mesh defined in the CGNS files to the solid mesh in Simcenter STAR-CCM+.
To specify the boundary for mapping:
- Select the node.
-
Select the Parts property and click
(Custom Editor).
- Select External and click OK.
-
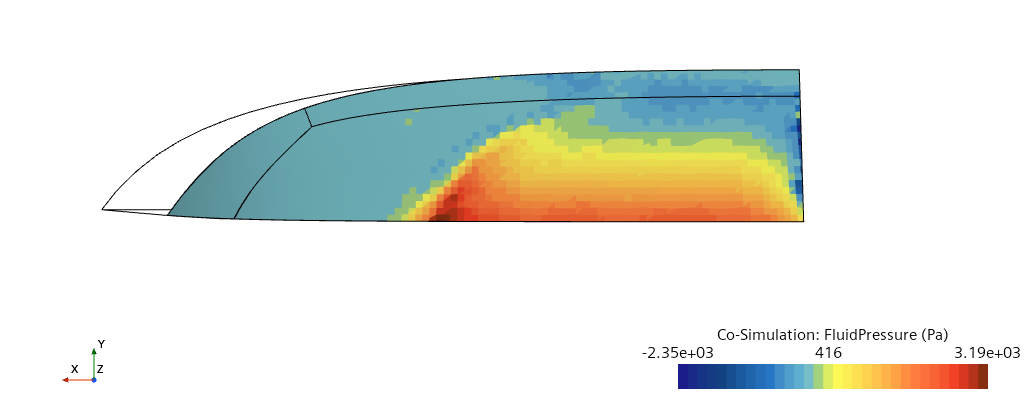
Prepare a scalar scene to view the imported fluid pressure fields on the CGNS
mesh:
-
Right-click the node and select Import Fields.
Simcenter STAR-CCM+ imports the external fields onto the external region within the scene.
- Save the simulation.