Modifying a 3D-CAD Model
As the 3D-CAD modeler is fully integrated into the Simcenter STAR-CCM+ environment, it is quick and easy to modify the 3D-CAD model before and after the simulation is run.
If a solution has been found and you wish to rerun the simulation for a slightly different geometry, you can modify the 3D-CAD model and rerun the simulation. In this case, Simcenter STAR-CCM+ automatically maps the previous solution onto the new geometry, decreasing the simulation run-time.
You can modify a 3D-CAD model by:
- Editing it explicitly
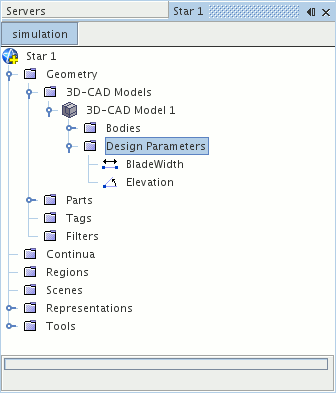
- Changing the value of a design parameter
The first method activates 3D-CAD and gives you access to the full range of CAD tools to edit the geometry.
For the changes to take effect in the rest of the simulation, perform the following steps:
- Update the affected geometry parts
- Regenerate the surface and volume mesh
The region and boundary data is mapped onto the updated geometry and you can proceed with the analysis. It is good practice to check that the parts, regions, and boundaries are all associated with the correct sections of the geometry following a modification to the 3D-CAD model.
When the original 3D-CAD model is used to create geometry parts, a single part surface, named Default, represents all unnamed faces.
If you:
- rename or split the Default part surface into new part surfaces,
- then modify the geometry in 3D-CAD,
- and update the geometry parts,
the CAD surfaces and boundaries that are associated with each part surface are maintained as much as possible.
When you name surfaces on a 3D-CAD model, then use that 3D-CAD model to create geometry parts, individual part surfaces are created for each of the named 3D-CAD surfaces. If you edit the part in 3D-CAD, then update the geometry parts, the part surfaces, and associated boundaries, are maintained.