Generating the Volume Mesh
The first step in generating a volume mesh is to create a fluid region from the imported geometry part.
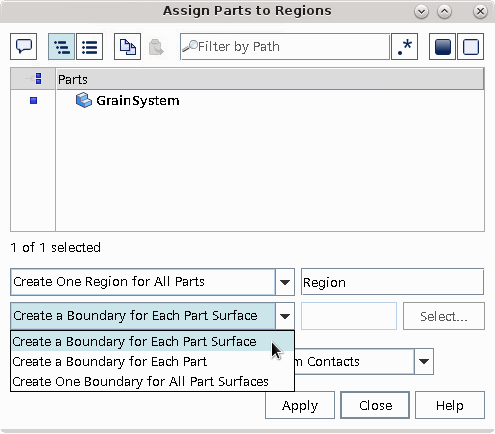
- Right-click the node, and select Assign Parts to Regions...
-
In the Assign Parts to Regions dialog, make sure that
the GrainSystem part is selected, and set the second
dropdown to .

- Click Apply, and then Close.
To create a meshing continuum with a base size of 0.1 m:
- Right-click and select .
-
In the
Create Automated Mesh Operation dialog:
- Select the node and set Value to 0.1 m.
-
Click
 (Generate Volume Mesh) in the
Mesh toolbar.
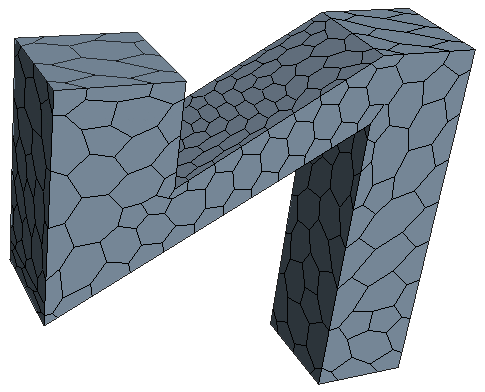
The output from the meshers is shown in the Output window. When the meshing process is complete, the message Volume Meshing Pipeline Completed is displayed in the Output window.
 - Select and activate Mesh.
- Select and activate Mesh.
-
In the Geometry Scene, right-click and select to see the result.

- Save the simulation.