Replacing a Mesh
A region associated with a volume mesh in Simcenter STAR-CCM+ can be replaced by another topologically identical volume mesh at any point during the analysis.
One of the main reasons to replace a mesh is to improve the solution integrity and convergence characteristics by replacing a coarser mesh with a finer one in the middle of the analysis. The current solution is automatically mapped to the new mesh operation in order to improve the restart conditions. The mesh replacement option differs from deleting and reimporting a new mesh with respect to this last point; no solution mapping is done in the latter case.
The assumptions that are made when replacing a mesh operation with a new one are:
- the region topology is identical in both cases
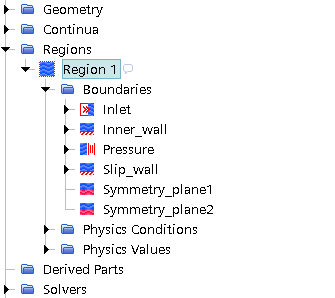
- the number of boundaries are the same and use the same source names
The grid structure of the two operations does not have to be the same. In other words, a polyhedral type mesh can replace a tetrahedral one, or any other combination of cell shapes allowed.
Before replacing a mesh operation, import the new volume mesh region into Simcenter STAR-CCM+ and configure the boundaries to have the same number and source names as the original mesh region.
To replace a mesh:
-
Open the region node of interest and right-click on the name. In the pop-up menu that appears, select the
Replace Mesh... option.

The Replace Volume Mesh dialog appears.
-
Two options are provided for interpolation:
-
Use Nearest Neighbor for interpolation
The cell/face value on the new mesh is assigned the value of the cell/face on the old mesh whose cell/face centroid is nearest to the cell/face centroid of the new mesh. This option does not provide smooth interpolations of the results from one mesh to the other.
-
Use higher-order stencil for interpolation
The cell/face value on the new mesh is smoothly interpolated from a stencil of cells/faces on the old mesh using the distance-weighted, least square interpolation method. Generally speaking, the method would be preferred when replacing the mesh at some point during a transient analysis. It can also be useful for steady problems, but the requirement for smoothness is not as critical, as the simulation can continue to converge to a steady state solution after the mesh replacement. The technique is slightly more computationally expensive than the nearest neighbor mapping, but it can offer more fidelity when mapping with thin parts.
-
-
Using the pull down menus, select the region to replace and then the region
that contains the new mesh. Press the OK button.
The progress bar notifies you once the process is complete and a summary message is displayed in the Output window.
Solution data in the old region is mapped to the new one, and the old region is deleted. The simulation tree shows the updated region structure.
The physics and boundary conditions from the original region is copied across to the region that replaces it.