Offsetting Entities in a 3D Sketch
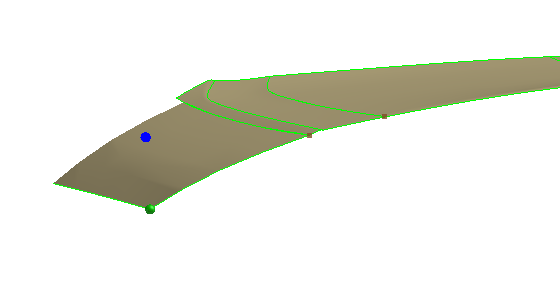
You can offset specific points in a 3D sketch to help you trace the shape of an existing object. This feature is useful in situation where you want to maintain the curvature of an object while offsetting the curve a fixed distance away from the original surface.
To offset points from a reference geometry:
-
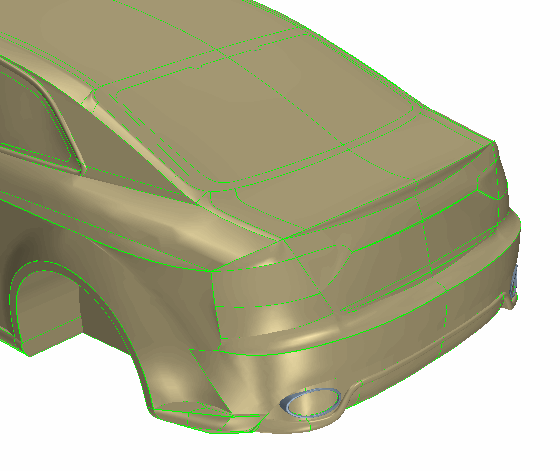
Make sure that the geometry that you want to reference is visible in the graphics window.
-
Create a 3D sketch.
If required, adjust the grid spacing in the scene.
-
If some bodies are overlapping, or are in close proximity, it may be difficult to select the points. You can hide the surrounding surfaces to make it easier to select the points.
One method to achieve this is to select the relevant faces on the geometry, right-click a selection and choose Show Only.
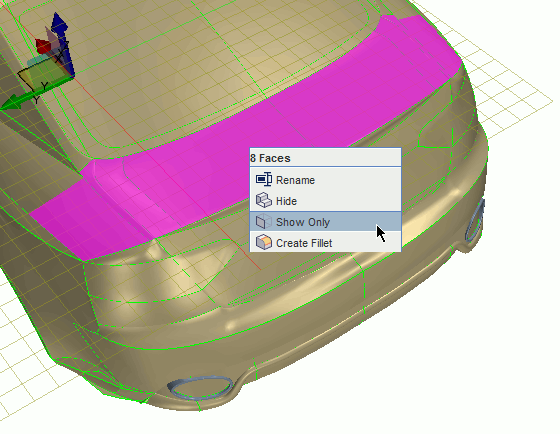
The selected faces are the only ones remaining visible in the graphics window.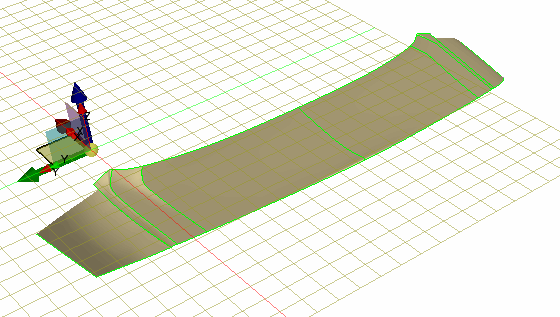
-
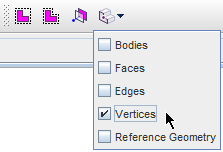
Adjust the selection filter to only select vertices.
-
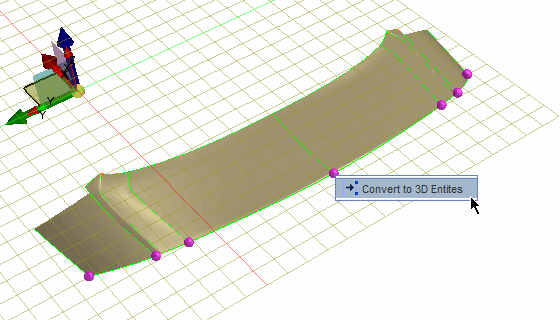
Select the points that you want to offset.
Hold down the <Ctrl> key to select multiple vertices.
-
While holding down the <Ctrl> key, right-click one of the selected vertices and choose
Convert to 3D Entities.
-
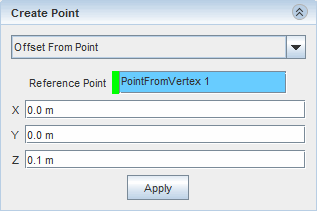
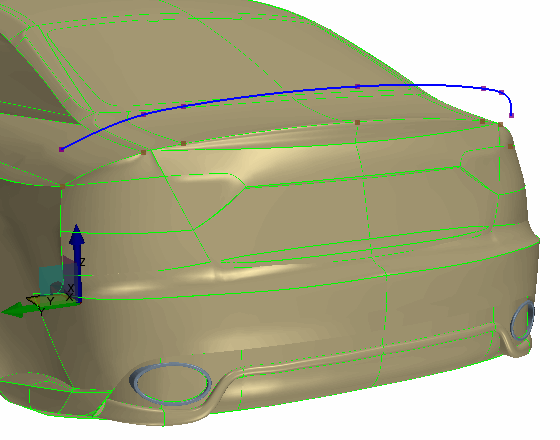
Create the offset points:
-
Click
 (Create Spline), and in the graphics window, click the offset points in order to define the shape of the spline.

 (
(