Saving Scene Images to File
The versatile scene exporting capabilities of Simcenter STAR-CCM+ give you a wide range of choices for visualizing solution results. You can save scenes to any one of various image file types as either a single action or at regular intervals during the simulation run. As an alternative to writing static image files, you can export scenes to an MP4 file, building an animation while a solution progresses (particularly transient solutions).
-
To export one or more scenes to an image file:
-
Set the output resolution using the X Resolution and Y Resolution properties.
For a complete list of properties in the Save To File dialog, see Save To File Dialog Properties.
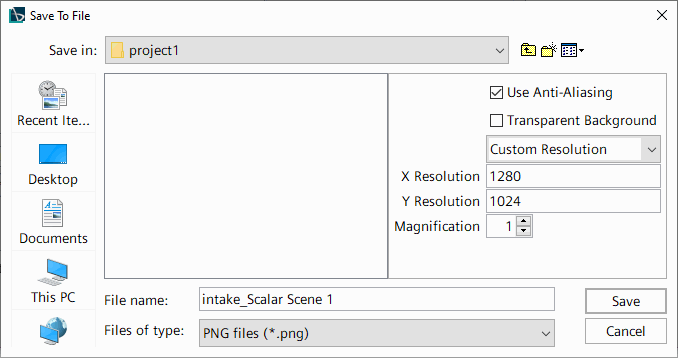
When you save multiple scenes, the settings specified in the Save To File dialog are applied to all scenes. The image files are saved under the name provided in the File Name text box and numbered incrementally according to their position in the simulation tree. In the example shown in the above screenshots, the image files would be named intake-scene_0.png, intake-scene_1.png, and intake-scene_2.png, which correspond to Geometry Scene 1, Mesh Scene 1 and Scalar Scene 1 respectively.
While you cannot export multiple scenes to a single MP4 file, you can export them to separate MP4 files. Once the simulation run is finished, you can then combine them manually using a movie editor of your choice.
-
Set the output resolution using the X Resolution and Y Resolution properties.
scetopng utility from the installation to export individual hardcopies in the .png format.-
To save scene images automatically during a simulation:
When your simulation is complete, you have a variety of options for working with the output: can work with the output:
- If you exported the scenes to an MP4 file, you can view the resulting file to examine the simulation results as they change.
- If you exported the scenes to static images, you can examine individual images from various instances in the solution easily. At the same time, you can still create an animation from the image files using a movie-creation utility of your choice.
- If you wrote the scenes to
.scefiles, you can first export each scene as an individual.pngfile using thescetopngutility. For details, see Viewer File Transform Utility scetopng.