Creating a Filled Surface
To create a filled surface:
-
In the 3D-CAD View scene, select some or all
of the edges surrounding the hole. If you cannot select all edges initially, or
wish to add sketch profiles, you can do so in the subsequent dialog.
Chosen edges or sketches need not lie on the same plane. You can double-click an edge to select all other edges in the same chain.
-
Right-click one of the edges and select
Fill Surface.
The Fill Surface panel appears.
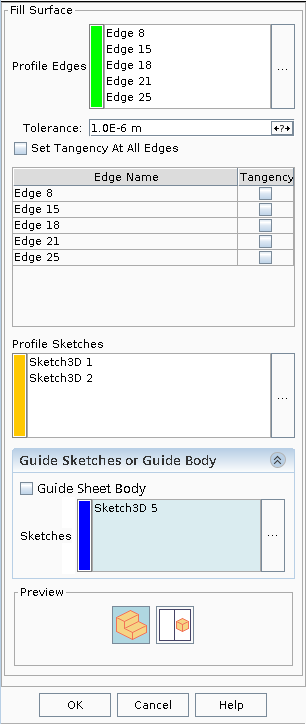
- To fill a surface spanning more than one body, use Profile Sketches in combination with Profile Edges. The sketches and edges must form a closed loop.
-
For greater control over the shape of the filled surface, click inside the
Guide Sketches or Guide Body option and
select a 2D or 3D sketch from the 3D-CAD feature tree or graphics window. If you
want to use a body as a guide, then activate the Guide Sheet
Body option.
Note You can only use a single sheet body as a guide. The content of the sketch is used as a guide curve for the filled surface.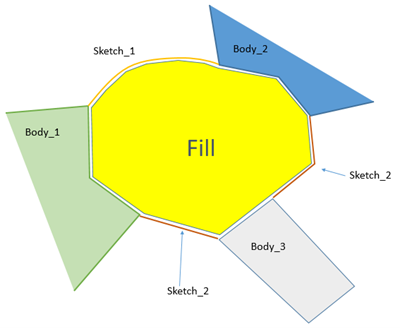
- Enter the parameters for the filled surface. See Fill Surface Panel.
A preview of the filled surface is displayed in the
3D-CAD View scene.

- Click OK to complete the feature.
A node is added to the 3D-CAD feature tree.