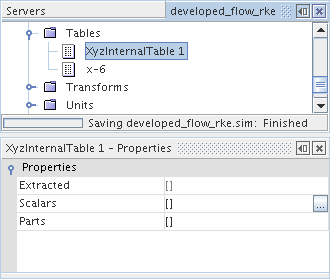
Example of Extracting and Exporting a Table
This section illustrates how you would extract a table from one simulation to use as a boundary condition in another.
In this example, a channel flow simulation with periodic boundaries is used to create a fully developed channel flow profile. Values from an x-y plane cut across the fully developed channel are extracted into a table, exported and then used at the inlet of another simulation. This obviates the need to create a long inlet section in the second simulation to obtain the required fully developed conditions.
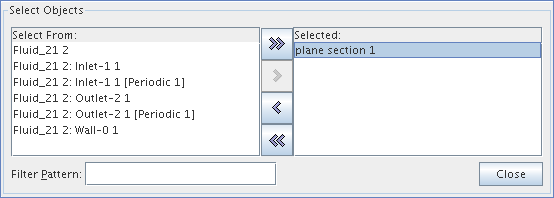
 ), which activates a scalars dialog.
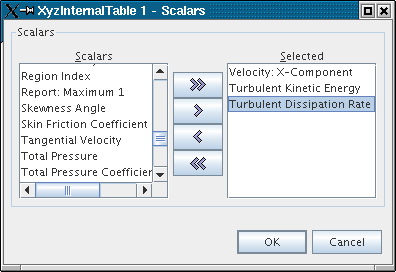
This dialog works the same as the one you used for the part selection. In this example, Velocity: X-Component, Turbulent Kinetic Energy, and Turbulent Dissipation Rate are selected.
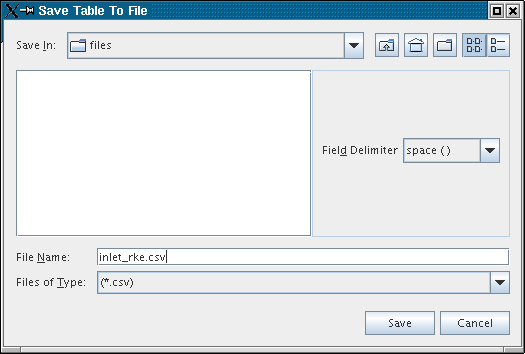
In this example, the table is named inlet_rke.csv.
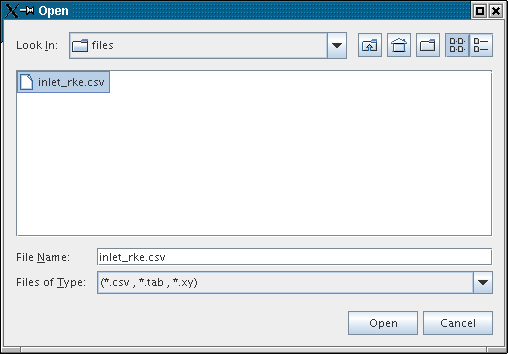
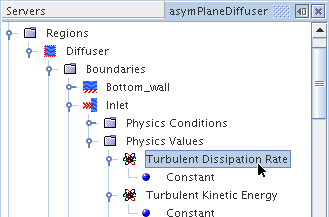
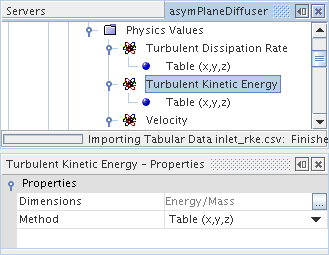
In this example, the profiles that receive the data of this file are:
- Turbulent Dissipation Rate
- Turbulent Kinetic Energy
- Velocity: X-Component
They correspond to the scalars selected for the xyz table that was created earlier.
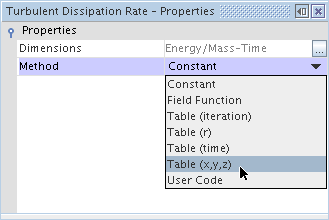
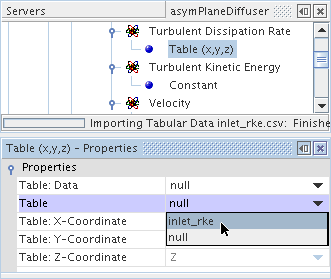

When you use Table (x,y,z) as the tabular method, once you set the Table and Table:Data properties, the other properties for the X, Y, and Z coordinates are read-only, since they map automatically to the columns in your table file with those headings.
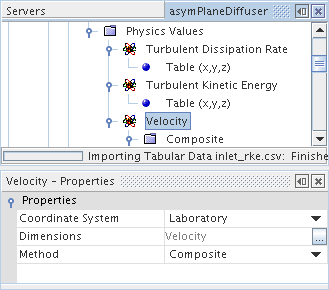
In this example, the velocity specification boundary condition has been set to Components, since only the X-component is being used in the table file. Hence, for this node, the Method property must be set to Composite, to use the composite vector profile method.
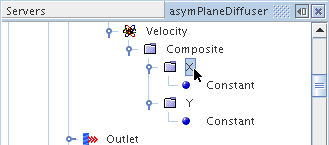
In this example, the X-component is selected, while the Y-component is a constant. (There is no Z-component because this case is two-dimensional.)
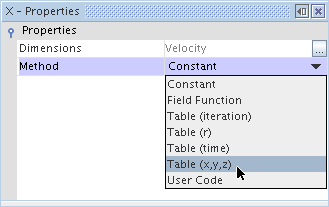
As before, set the Table property to the name of your table file. Then set the Table:Data property to the column of the scalar value, in this example it is Velocity X-Component.
This completes the example of using a table file to transfer boundary conditions from one simulation to another.