Visualizing the Topology

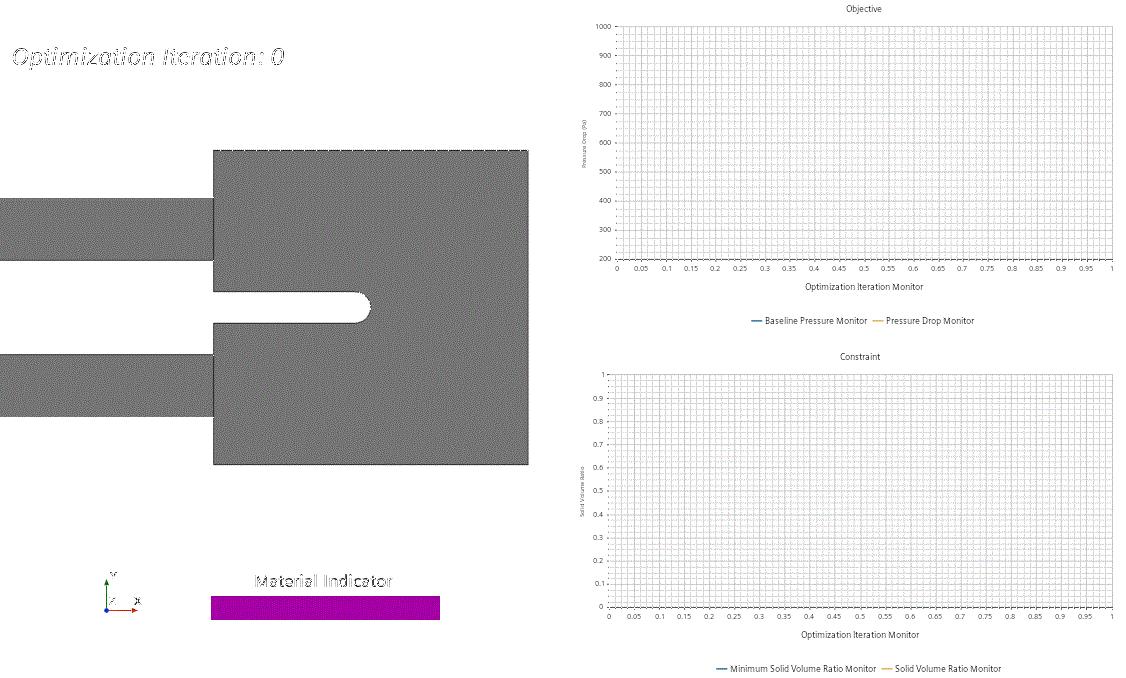
You visualize the topology by observing the distribution of the material indicator. A material indicator value of 1 indicates the position of the fluid in the topology optimization domain.

To be able to analyze the evolution of the topology over the course of the simulation, you export images of the material indicator scalar scene, in a frequency determined by an update event. This update event triggers the image output at every optimization iteration.

To visualize the topology:

  1. Create the update event as an optimization iteration trigger:
    1. Right-click the Tools > Update Event node and select New Event > Monitor Delta.
    2. Rename the Monitor Delta node to Loop Event.
    3. Select the Loop Event node and set the following properties:
      Property Setting
      Monitor Optimization Iteration Monitor
      Difference Mode Non-Accumulated
      Delta Threshold 1
  2. Define the material indicator scene:
    1. Expand the Scenes node and open the Material Indicator scene.
    2. Select the Scalar 1 node and activate Display Mesh.
    3. Select the Scalar 1 > Parts node and select all regions and boundaries.
    4. Select the Attributes > Update node and set the following properties:
      Property Setting
      Save To File Activated
      Output Directory MaterialIndicatorImages
      Trigger Update Event
    5. Select the Update > Event Frequency node and set Update Event to Loop Event.
  3. Add the plots that show the pressure drop objective and the constraint as annotations to the scalar scene:
    1. Select the Monitors > Pressure Drop Monitor node and set Trigger to Update Event.
    2. Select the Monitors > Pressure Drop Monitor > Event Frequency node and set Update Event to Loop Event.
    3. Select the Plots > Objective node, then drag and drop it onto the graphics window that currently displays the material indicator scalar scene.
    4. Select the Plots > Constraint node, then drag and drop it also onto the graphics window.
    5. Arrange the scene and the plots side by side.


  4. Save the simulation.